Infill Sample Display

jjjohnson
| Filename | Downloads | Size | Uploaded | |
|---|---|---|---|---|
| Infill Sample Display Bottom.stl | 1599 | 3.6 MB | on 5/2/14 | Download |
| Infill Sample Display Top.stl | 1564 | 2.7 MB | on 5/2/14 | Download |
| Bottom.JPG | 1590 | 255 kB | on 5/2/14 | Download |
| Top.JPG | 1581 | 258 kB | on 5/2/14 | Download |
| Assembled.JPG | 1553 | 226 kB | on 5/2/14 | Download |
| Sample Discs.JPG | 1565 | 246 kB | on 5/2/14 | Download |
| Assembled_Loaded.JPG | 1487 | 210 kB | on 5/2/14 | Download |
| Sample Disc.stl | 1661 | 36 kB | on 5/2/14 | Download |
Description
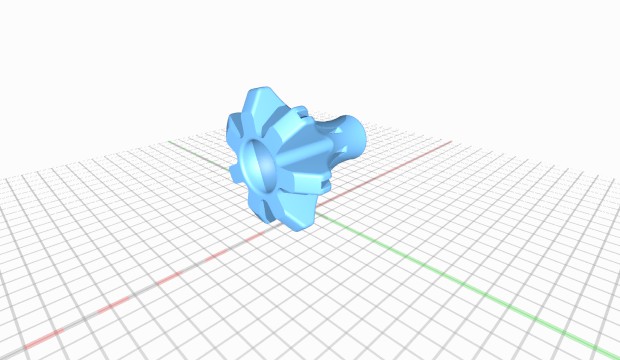
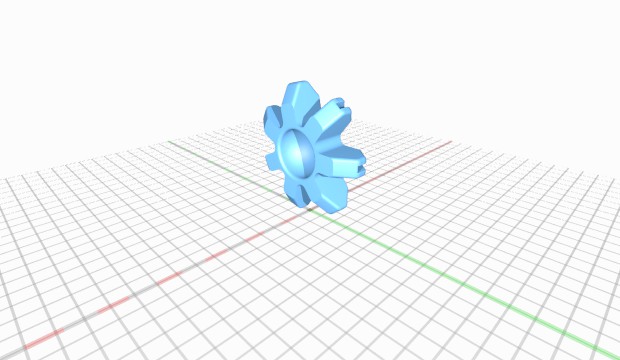
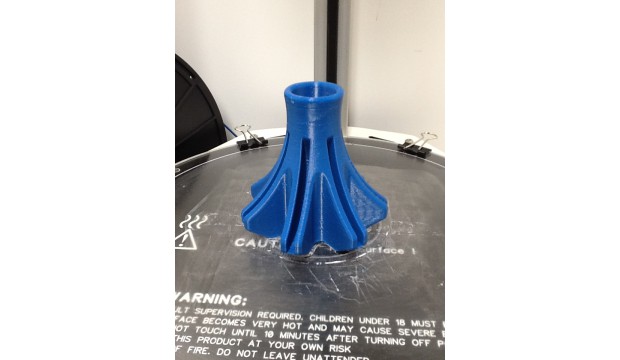
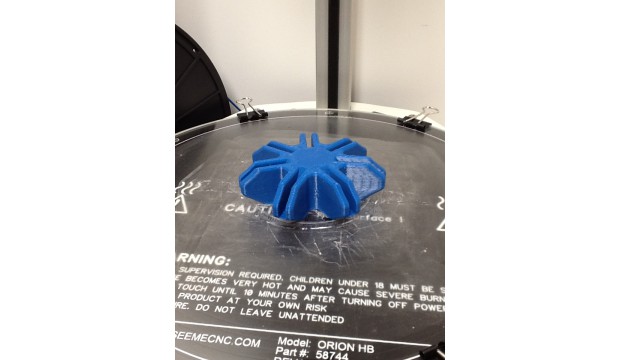
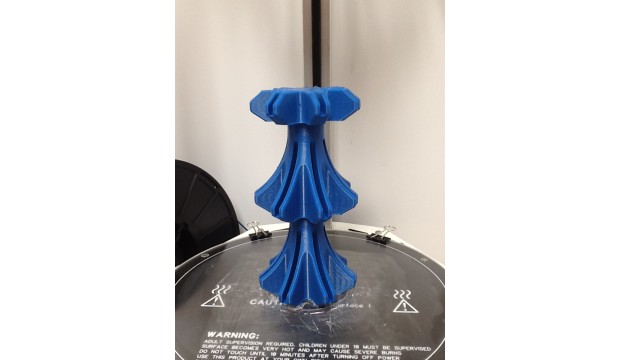
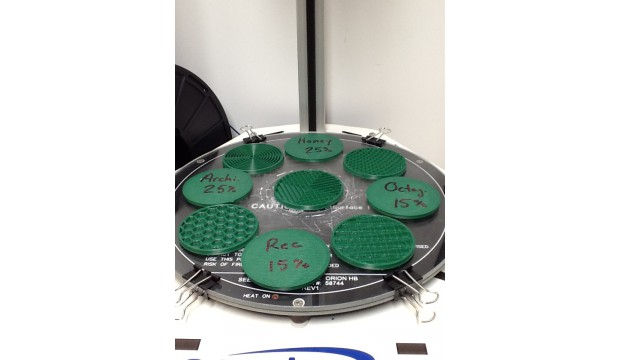
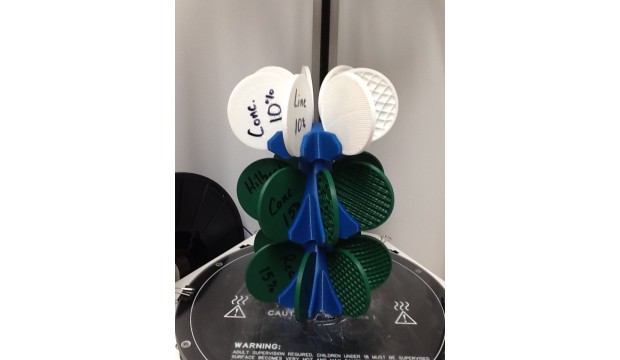
This infill sample display will surely communicate the different pattern and density configurations that are available for users in Slic3r. I came up with the idea when putting together curriculum for SeeMeCNC. Slic3r has 7 different infill pattern style options and densities range from 0 - 100% (0-1) So in order to communicate this information visually, the idea for an infill display was born. Print as many base pieces separately as you want to fill and they each connect nicely to each other, one on top of the other. Top the assembly with the "Top" piece to complete the assembly, then print the sample discs and fill your tree.
Instructions
I printed all of the parts in ABS with a layer height of .3mm, 2 perimeters, and 20% infill (you choose your pattern). No need to generate any support material, as the bottom void is spherical at the top, eliminating the need for the support.
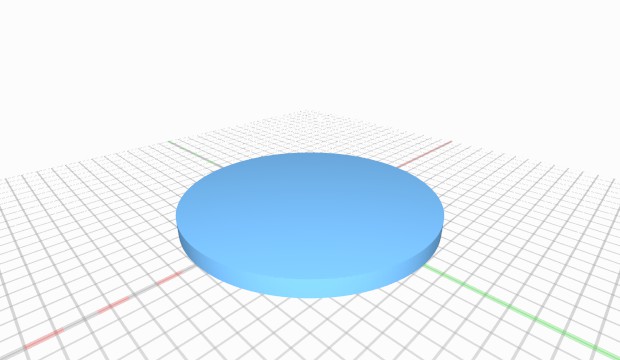
The Sample Discs should each be printed separately with varying infill patterns and densities. Ensure you set the number of top layers to 0 or you will cover up the infill, eliminating the purpose of the Infill Display. Make sure to label the individual samples to remember the details later and communicate to others what each disc represents.
License
Attribution - Share Alike - Creative Commons
Comments
Sign in to add a comment.
