L-Cheapo Laser Kit Mount for Rostock Max (V2)


heathenx
| Filename | Downloads | Size | Uploaded | |
|---|---|---|---|---|
| RostockMax_L-Cheapo_Laser_Mount_01.stl | 2568 | 559 kB | on 4/8/14 | Download |
| RostockMax_L-Cheapo_Laser_Mount_02.stl | 2487 | 162 kB | on 4/8/14 | Download |
| RostockMax_L-Cheapo_Laser_Mount_03.stl | 2543 | 180 kB | on 4/8/14 | Download |
| RostockMax_L-Cheapo_Laser_Mount_01.stp | 2481 | 60 kB | on 4/8/14 | Download |
| RostockMax_L-Cheapo_Laser_Mount_03.stp | 2486 | 22 kB | on 4/8/14 | Download |
| RostockMax_L-Cheapo_Laser_Mount_02.stp | 2484 | 10 kB | on 4/8/14 | Download |
| RostockMax_L-Cheapo_Laser_Mount.jpg | 2833 | 3.1 MB | on 4/8/14 | Download |
| sample.jpg | 2859 | 901 kB | on 4/8/14 | Download |
| rostockmax_l-cheapo_laser_mount2.png | 1328 | 207 kB | on 6/10/14 | Download |
Description
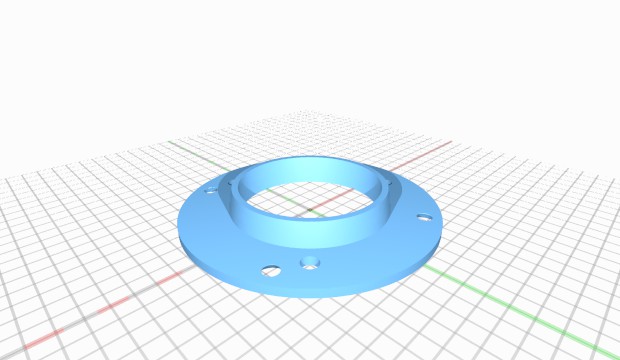
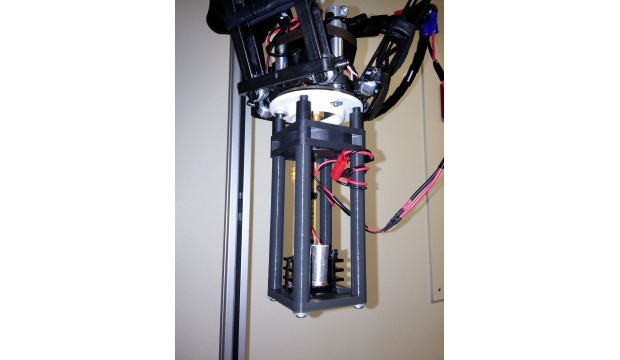
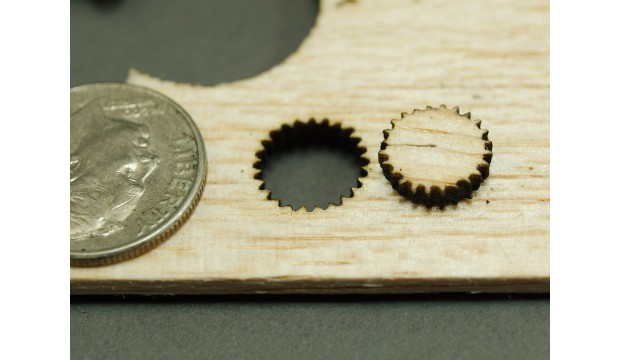
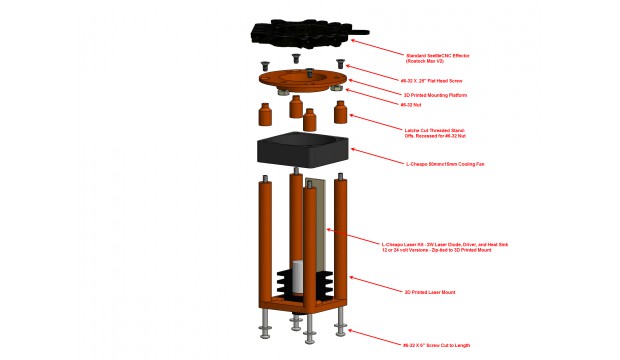
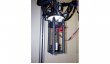
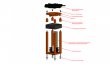
For those that have purchased an L-Cheapo laser kit, I have made a mount for it. It basically just attaches to the underside of the effector plate.
Instructions
You will need longer #6-32 screws that fasten the hotend to the effector. I bought a package of 2-1/2" long screws that I just cut to size with some wire strippers. Most wire strippers have machine screw (US) cutters on them that are handy for this type of thing. You'll also need some #6-32 flat-head screws about a 1/4" long (or buy long and cut to size) and some #6-32 pan-head screws that are about 5" or 6" long. Again, you'll have to cut those to length. I think I cut mine to about 4-3/4" long.
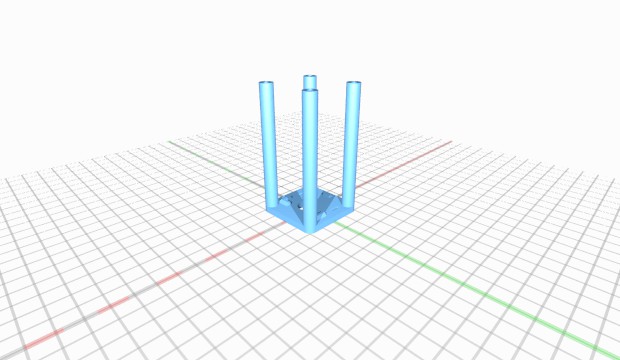
I lathe cut the small stand-offs but you can 3D print them too. They will have to be tapped all the way thru with a #6-32 tap.
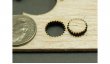
I wired my laser into my hotend wires...the big ones. A simple M104 S254 turns the laser on and an M104 S0 turns it off. I use Inkscape to draw my artwork and a laser gcode extension that can be found here: http://polakiumengineering.org/1000-portable-3d-printer-laser-cutter/ The extension is just a modified version of the JTechPhotonics extension, which is a very simiplified version of the laser cutting extension in the CGodeTools extensions. It's been my experience that polakiumengineering.org's extension works the best.
Once you export the gcode then you can plop that right into Repetier Host and print over USB. I plan to do a short how-to soon that I will post to YouTube eventually.
Ref. http://forum.seemecnc.com/viewtopic.php?f=59&t=6001
License
Attribution - Creative Commons
Tags
Comments
Sign in to add a comment.