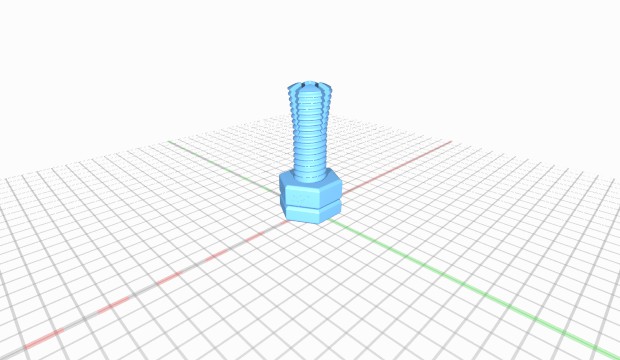
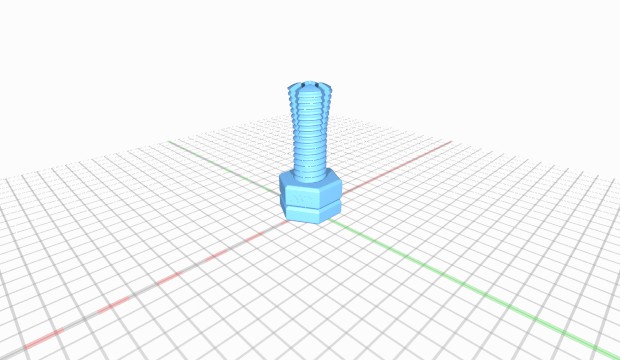
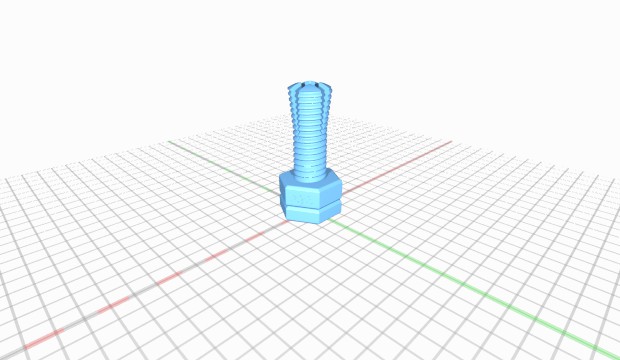
Impossible 3D-printed bolt and nut

CreativeTools
| Filename | Downloads | Size | Uploaded | |
|---|---|---|---|---|
| impossible bolt and nut - by ct3d.xyz v01.jpg | 1407 | 1.9 MB | on 2/2/15 | Download |
| impossible bolt and nut - by ct3d.xyz v02.jpg | 1250 | 1.6 MB | on 2/2/15 | Download |
| impossible bolt and nut - by ct3d.xyz v03.jpg | 1264 | 1.9 MB | on 2/2/15 | Download |
| impossible bolt and nut - by ct3d.xyz v04.jpg | 1146 | 1.1 MB | on 2/2/15 | Download |
| impossible bolt and nut - by ct3d.xyz v05.jpg | 1429 | 1.6 MB | on 2/2/15 | Download |
| impossible bolt and nut - by ct3d.xyz v06.png | 1144 | 76 kB | on 2/2/15 | Download |
| impossible bolt and nut - by ct3d.xyz v07.png | 1097 | 112 kB | on 2/2/15 | Download |
| impossible bolt and nut - by ct3d.xyz v08.png | 1094 | 51 kB | on 2/2/15 | Download |
| impossible bolt and nut (height 136 mm) - by ct3d.xyz.stl | 1085 | 4.4 MB | on 2/2/15 | Download |
| impossible bolt and nut (height 205 mm) - by ct3d.xyz.stl | 1021 | 5.2 MB | on 2/2/15 | Download |
| impossible bolt and nut (height 230 mm) - by ct3d.xyz.stl | 1041 | 5.5 MB | on 2/2/15 | Download |
| impossible bolt and nut (height 457 mm) - by ct3d.xyz.stl | 1089 | 8.3 MB | on 2/2/15 | Download |
Description
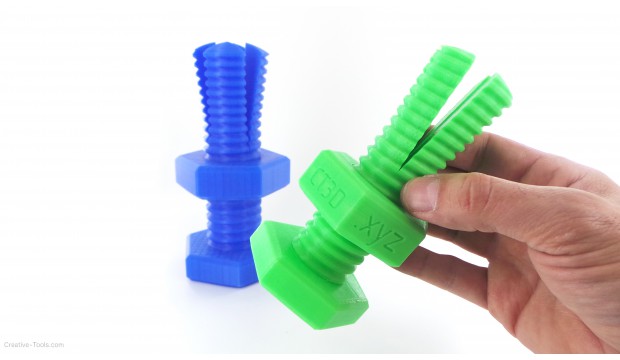
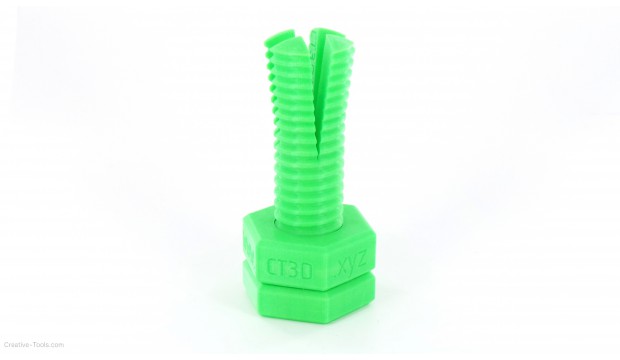
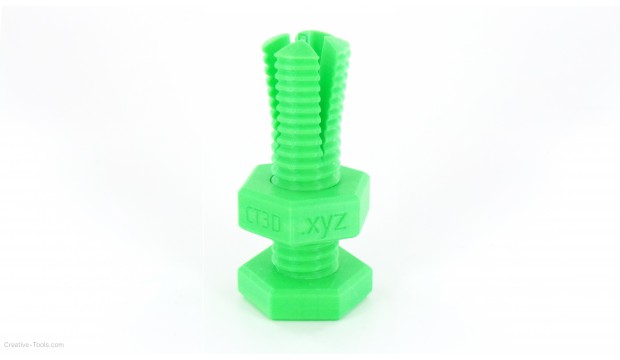
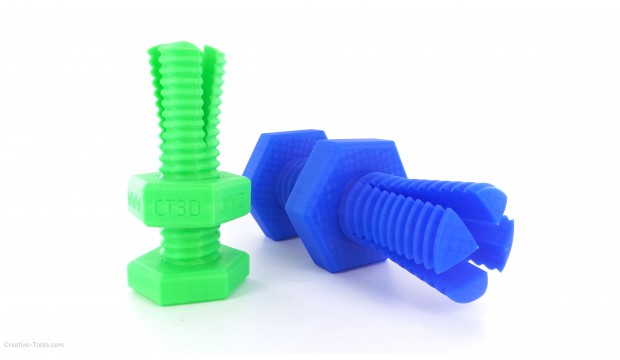
The "Impossible bolt and nut" is an amusing 3D-printable two-part assembly with a working thread, where a nut is trapped on a bolt.
VIDEO
http://youtu.be/GbDMlNjrUM4
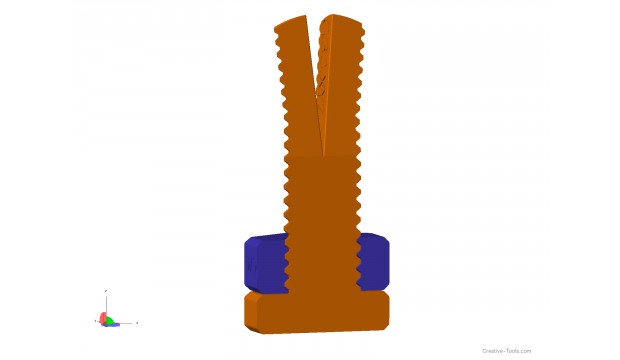
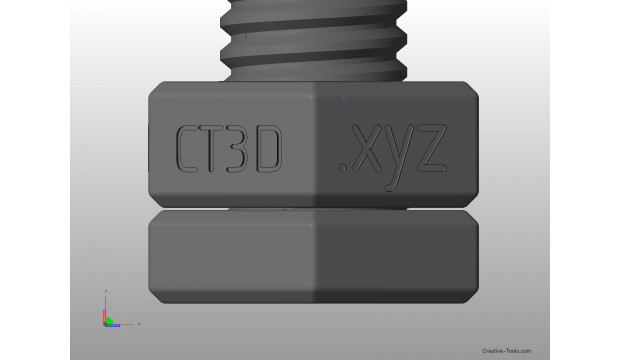
The single STL file contains the nut placed at a slight distance from the bolt's head. The gap between both is sized to create a "skipped" layer thus making a fracture plane so that the nut can be removed from bolt's head.
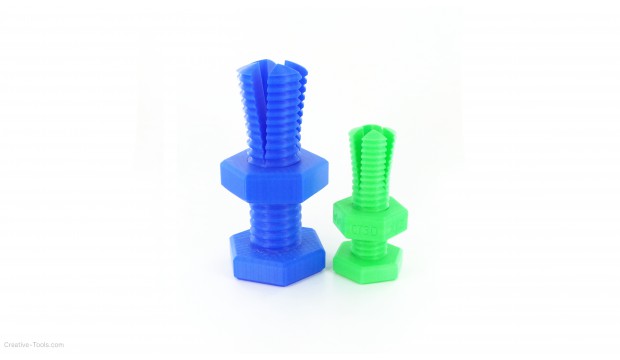
We have supplied several STL files scaled to commonly available 3D-print heights. Please choose the one that closest fits your desired print height. It is possible to scale the STL up or down with successful results.
Please see instructions for more information on how to 3D-print this bolt and nut. Also note that some slicing software and settings could interpret the air gap as an STL defect and remove the gap during print. You will have to disable the STL heal function.
Download the STL files and 3D-print your own! :)
Instructions
VIDEO
http://youtu.be/GbDMlNjrUM4
The gap
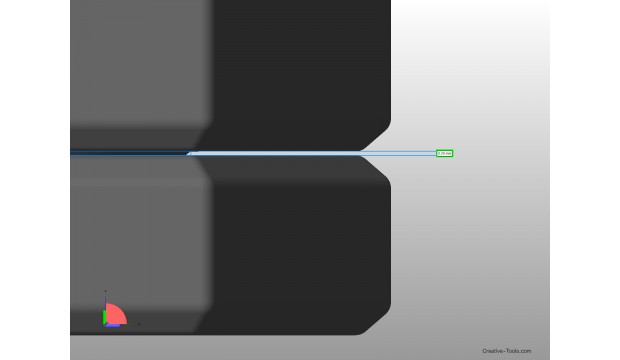
There is a gap between the nut and the bolt's head. The size is adjusted so that the slicing software will "skip" a layer.
This air gap should be small enough for the nut's first layer to adhere to the bolt's head, but still large enough for them to separate easily.
We adjusted this gap so that it fits 3D-prints of PLA and ABS.
REMOVING THE NUT FROM THE BOLT
Make sure you don't cut yourself! Use a thin knife blad and insert it between the bolt's head and the nut. Wiggle it and move it around the bolt until you can feel than the majority of the gap is broken free.
Remove the knife and carefully unscrew the nut.
CHOOSE THE CORRECT STL FILE
We provided several STL files in this thing to fit different 3D printer Z-heights. Choose the STL which fits your 3D printer and scale it slightly if needed. The important thing is not to affect the gap too much when scaling the bolt.
License
Attribution - Share Alike - Creative Commons
Tags
Comments
Sign in to add a comment.
