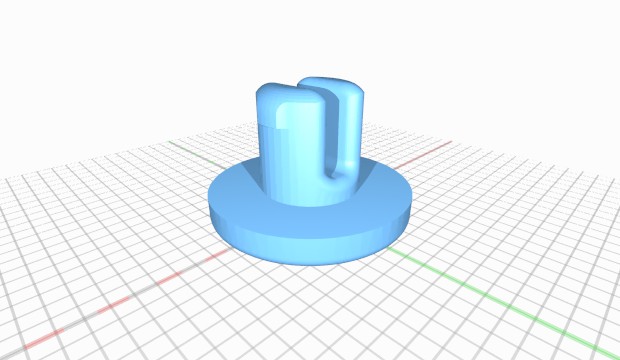
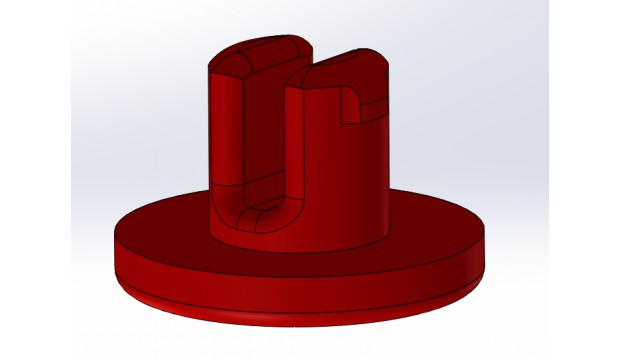
10mm Plug for Rostock Max V2 Base Cabinet

jjjohnson
| Filename | Downloads | Size | Uploaded | |
|---|---|---|---|---|
| Bed Hole Plug.stl | 2322 | 360 kB | on 1/3/16 | Download |
| Bed Plug.png | 2403 | 46 kB | on 1/3/16 | Download |
| Bed Plug Assembled.png | 2361 | 157 kB | on 1/3/16 | Download |
| Bed Plug Assembled 2.png | 2312 | 62 kB | on 1/3/16 | Download |
| 20160301_090616.jpg | 2431 | 3.1 MB | on 1/3/16 | Download |
| 20160301_090533.jpg | 2458 | 3.5 MB | on 1/3/16 | Download |
Description
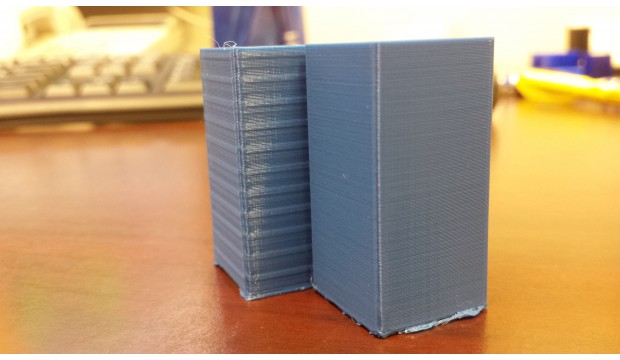
Here at SeeMeCNC, we keep a close connection with the user community. We work hard to provide the best customer service in the industry. We recently had a customer contact us regarding some interesting banding issues which occurred on the majority of their prints. When we ran this customer's particular GCODE, there was little to no banding present. And our initial thought was that this was simply just slicing engine / GCODE related. After some continual communication with the customer and trying different ways to recreate the problem, we finally were able to recreate this “banding”. This problem had us scratching our head for the entire week, digging into slice settings, firmware acceleration, jerk, PID, etc. We tried everything we could think of, yet nothing seemed to get rid of the banding on the part!
Why were we not seeing the banding initially? The answer is twofold… first this cause does not seem to affect every machine the same way. This is likely related to the environmental conditions where the printer is located. Secondly, for a lot of our printing these days, we haven’t been using any bed heat. Why no bed heat you may ask? We have been using our newest product FABLAM on our glass bed surface. FABLAM is a great alternative to glue stick or hairspray on the glass build plate. Too much bed heat with PLA will actually provide a bit too much stick and make prints difficult to remove.
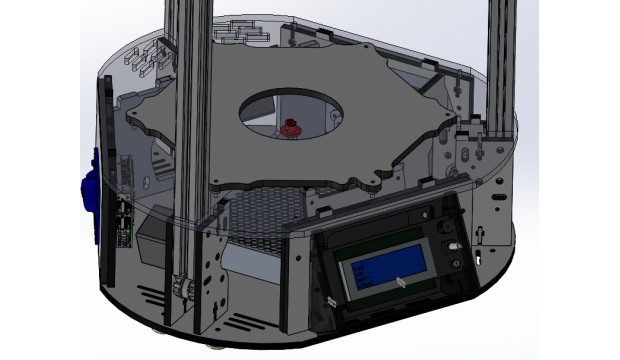
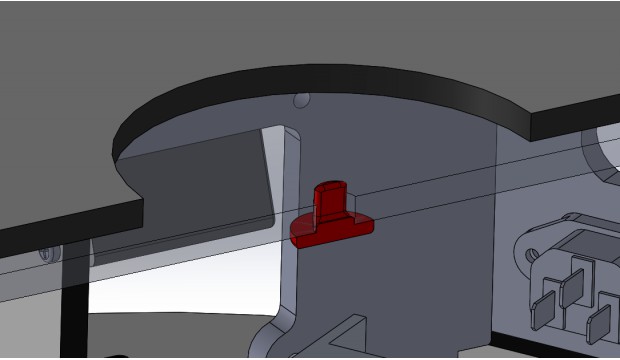
So what was the cause of the banding on the prints you may ask? The mysterious banding problem was caused by the fan within the machines DC power supply. These are the 12VDC 29A power supplies we began shipping a few months back. When running under load, the fan in that power supply kicks on about every 2 minutes (under full load on the power supply, bed set to 120C and hot set to 180C). With the placement of this fan being close to the center of the bed in the base cabinet, it is close to the 10mm diameter hole in the top plate of the base cabinet. When the power supply fan turned on and off, air blew upwards through the 10mm diameter hole, playing tricks on the heating cycle of the bed. The thermistor was being cooled down, which called for more heat, as well as the fact that the heating and cooling of the bed and insulator was causing expansion and contraction. This was showing up in the prints as a somewhat consistent banding pattern. We stumbled upon this yesterday and applied a very sophisticated and time consuming (extreme sarcasm) fix. We stuck a piece of tape over the 10mm diameter hole in the center of the base cabinet plate mid print. Almost immediately the banding was gone! Something so simple had been the cause of such a visually displeasing effect.
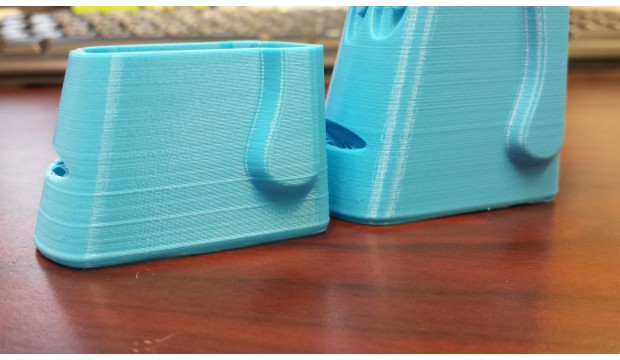
Now do you see why printing without bed heat as noted above was not recreating the issue for us? The power supply was not working nearly as hard and the power supply fan was not having to cycle on and off. So the solution is to cover that center hole under the build plate. You can go with the quick fix by throwing a piece of tape over the hole in the base cabinet (be sure to unplug the power first!) or a more elegant fix is this Repable a 23 minute print in ABS that will cover that hole and prevent the flow of air up to the heated bed.
Thanks to the entire SeeMeCNC 3D printing community for helping make us stronger and better.
Instructions
Print, (unplug machine), Install
License
Attribution - Creative Commons
Tags
Comments
Sign in to add a comment.
