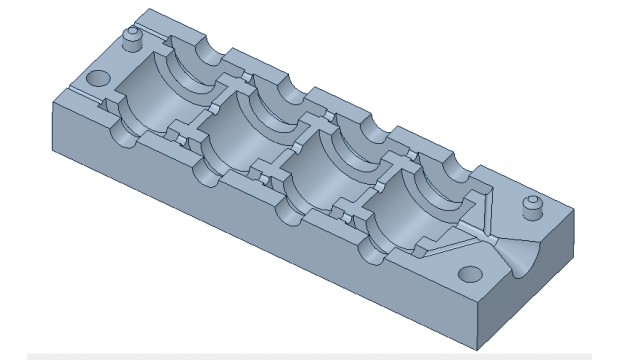
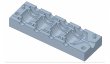
Silicone mold for "Omnimac" style vibration dampers


jimustanguitar
Description
This mold is part of my 3D Printed QuadCopter project. Check out all of the files and a build log on Instructables! http://goo.gl/wD0f3K
I drew this mold for making omnimac vibration dampers to isloate a multicopter flight controller. They work on flight controller mounts like these: https://www.thingiverse.com/thing:160655 and https://www.thingiverse.com/thing:163494
I created the mold based on these dimensions from a ThingiVerse object that isn't downloadable anymore. http://thingiverse-production.s3.amazonaws.com/renders/23/00/f6/55/49/Omnimac_v1_preview_featured.jpg
Instructions
The mold halves are the same piece, I designed it so that you just print 2 of the same part and they fit together. There is a tapered inlet for a syringe (I used a 3/4oz - 20ml "BD" branded syringe. I think it is actually for baby food.) The mold also has channels that link all 4 isolators to that single inlet. There are also very small holes at the very end to give the air somewhere to escape while you're injecting the silicone.
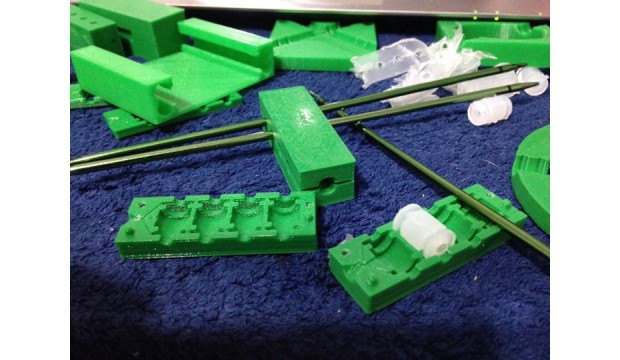
The original isolators (the store bought ones) have a hole through them for M3 mounting hardware. The other molds that are out there don't have this through hole. My mold clamps over 3-ish millimeter knitting needles between the two mold halves to restore this hole. I bought mine at WalMart in the crafts section. They're the green ones that come in a 4 pack.
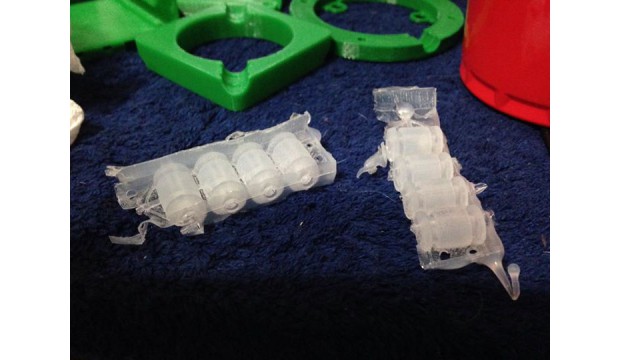
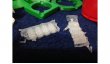
I used SmoothOn DragonSkin 10 material to mold these pieces, and they're quite flexible and jelly like. Perfect for vibration isolation. It was a little thick to draw into the syringe, but it was actually advantageous because it drew a vacuum at the same time and foamed the air bubbles out of the material... An accidental "I meant to do that" moment.
I assembled the two mold halves around the 4 knitting needles and clamped them together with an Irwin QuickGrip clamp suspended over a cardboard "catch" box. Then I used a shot glass with milliliter graduations to mix the silicone parts together. Then I drew the silicone into the syringe, which removed the air bubbles :) and injected the mixture into the mold's inlet until I saw silicone ooze out of the bottom holes. Left it to cure overnight, and demolded the parts in the morning. I didn't use a release agent, but that was ok, because I was able to pry the mold open with the knitting needles.
All in all, I think this was a successful build. I got 5 good isolators out of 8 (2 molds at the same time) that didn't have air bubbles in them.
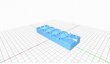
I've uploaded the DesignSpark Mechanical source files for you to tweak and optimize to your liking. Have fun!
License
Attribution - Creative Commons
Tags
Comments
Sign in to add a comment.