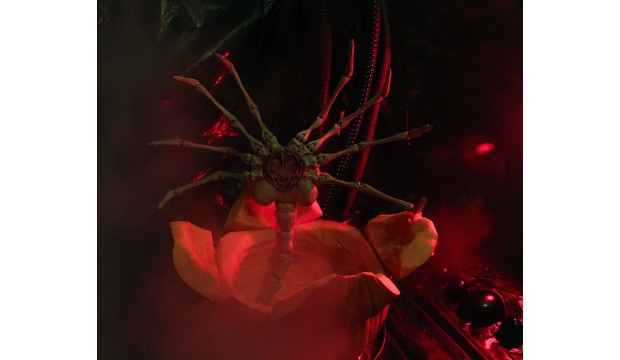
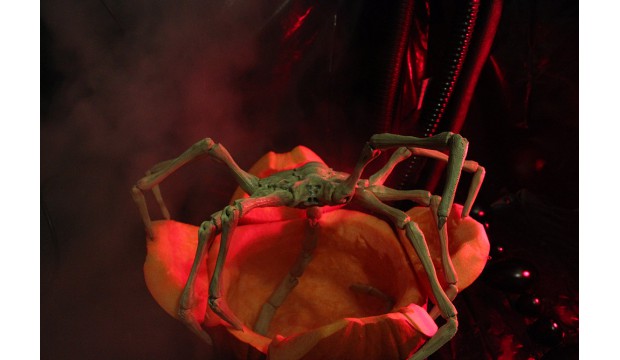
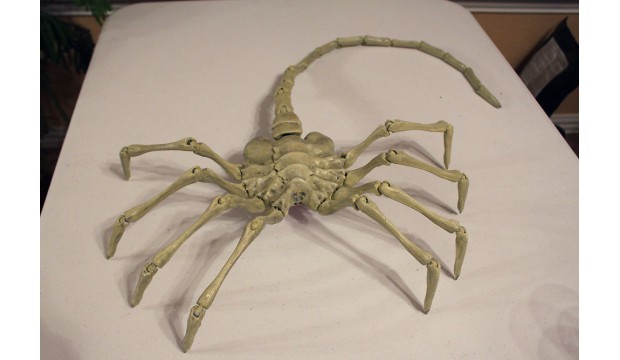
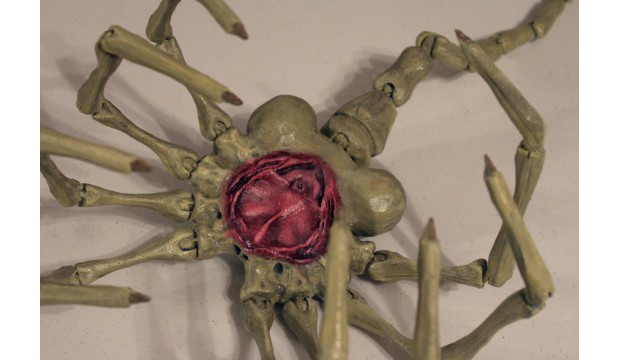
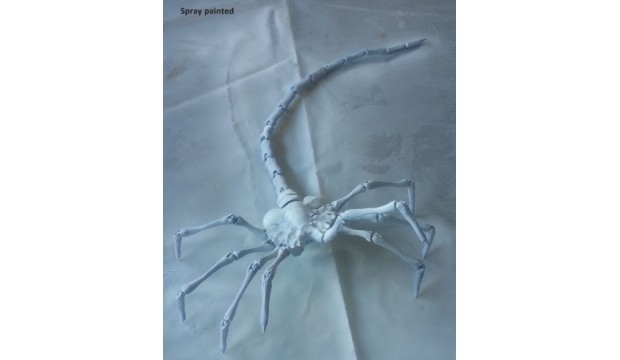
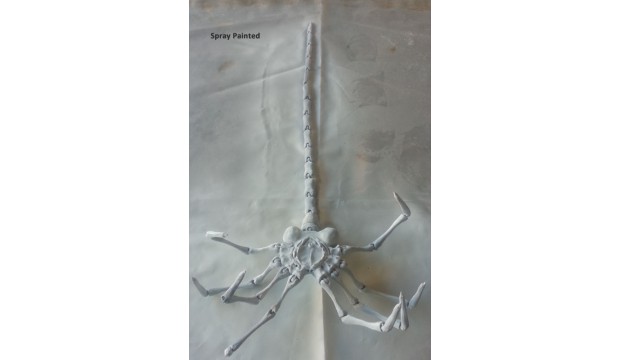
Agisis Ultimate 40in x 23in Alien Facehugger (Halloween Prop)

agisis
| Filename | Downloads | Size | Uploaded | |
|---|---|---|---|---|
| facehuggerhalloween2.jpg | 5068 | 100 kB | on 30/10/15 | Download |
| facehuggerhalloween1.jpg | 5092 | 160 kB | on 30/10/15 | Download |
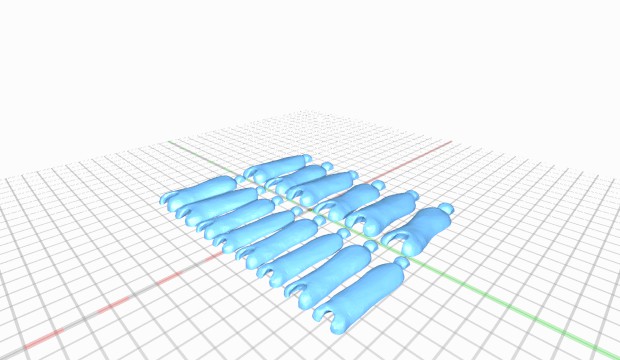
| facehugger1.jpg | 5229 | 107 kB | on 30/10/15 | Download |
| facehugger2.jpg | 5136 | 235 kB | on 30/10/15 | Download |
| facehuggersprayed1.jpg | 4977 | 70 kB | on 30/10/15 | Download |
| facehuggersprayed2.jpg | 5112 | 68 kB | on 30/10/15 | Download |
| facehuggerprint.jpg | 5061 | 118 kB | on 30/10/15 | Download |
| facehugger_top_pla.stl | 4980 | 2 MB | on 30/10/15 | Download |
| facehuggerbottom_pla.stl | 5132 | 2.3 MB | on 30/10/15 | Download |
Description
Hello,
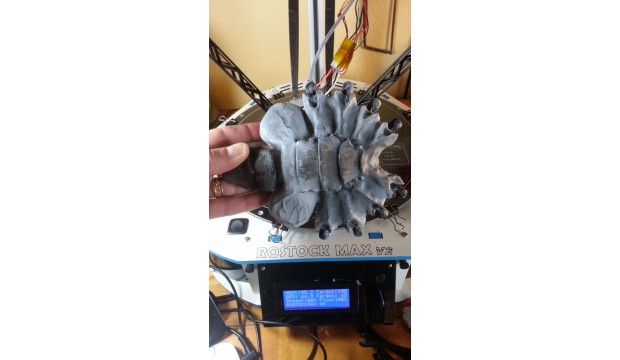
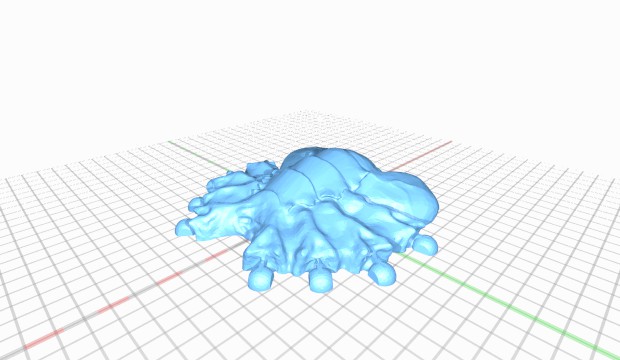
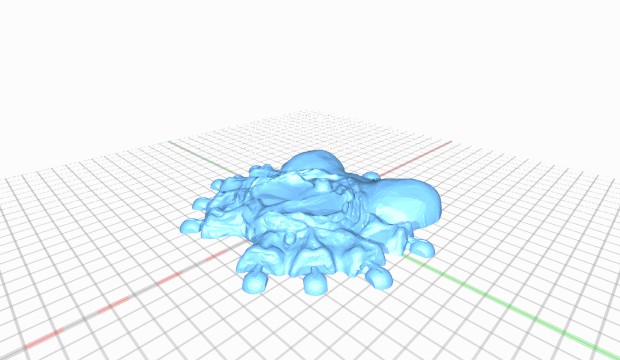
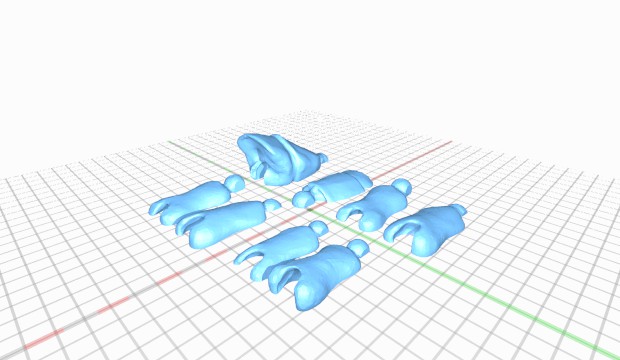
After about 150 hours of 3D sculpting work using Blender, I am releasing into the wild a brand new life-size articulated alien facehugger just in time for Halloween (and worked really hard to have a shot at the contest and show what this printer can really do!). This was printed on my Rostock Max v2 which has a large print area, but I have broken up the pieces in a way that does not require supports and does not a require a massive print area. I spent a long time getting the joint as tight as possible without splitting them.
This puppy is huge coming in at 40 inches x 23 inches. It's big and bad enough to clutch your face and wrap the tail around your neck. Oh yeah!
Instructions
Need: Super Glue and sand paper!
1) You should print the body with as little infill as you can get away with (like 15% if possible). The lighter it is, the easier it will stand up on its own!
2) I used 0.15mm per layer with 4 count perimeter. This is important because the outer layer of the joints need to be thick and sturdy!
3) Print it a bit hotter than usual to get a really good bond between layers.
4) I used PLA, but I think ABS will do a lot better because it has a little flex to it. That is very good for the joints because PLA is pretty stiff stuff and not to forgiving.
5) Sand down the flat parts of the joints with rough sand paper to make them scratched up before using the super glue to get a really strong bond.
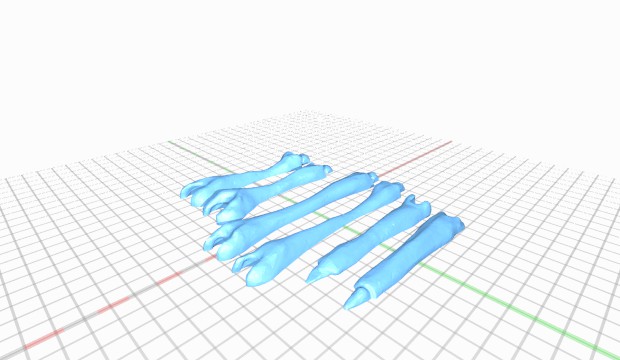
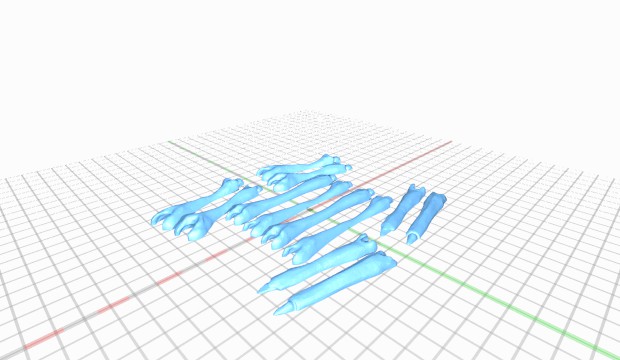
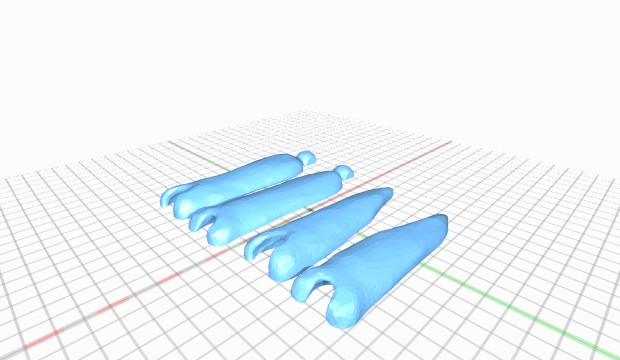
6) When printing the Tail grouping files, the order of the tail pieces is left to right, top to bottom.
I provided a STL with two legs you can print at once if you have a large enough bed. If not, use the OneLeg_PLA.stl
Enjoy!
License
Attribution - Creative Commons
Tags
Comments
Sign in to add a comment.
