Raymond Enclosure for Rostock Max V2

Xenocrates
Description
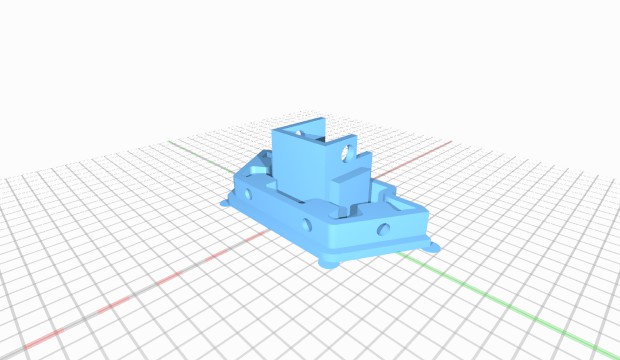
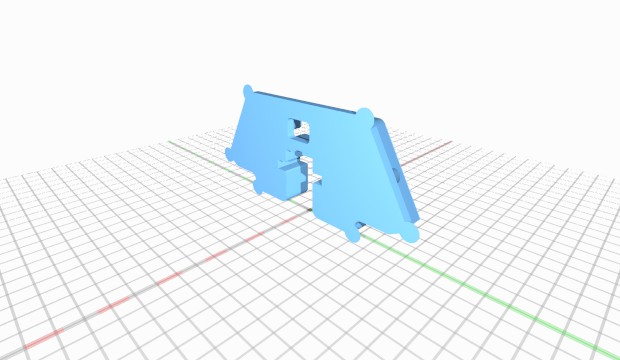
Credit goes to Raymond Ma for the original design. The upper bracket has been modified to work with the V2. It fits over the upper bracket for the tower, slipping over the upper most screw, and capturing the lower one to affix it to the frame. It also includes a cutout for endstop adjustment and tightening. Requires only the blind nuts, panels, and screws.
Instructions
Insert the blind nuts (1/4-20, .344 hole size) into the brackets, either using heat, or by drilling out additional clearance in the holes. After this is complete, the upper brackets can be attached by sliding them over the upper screw on the top of the tower, and then reinstalling the lower screw through the provided hole. The Lower frames may be affixed using chocks which go into the T-slot, but I found it un-needed once the panels were installed, as they kept it rigidly tied to the frame.
A stock height Rostock needs 28 5/8 inches tall of panels, and a width of 3.75 inches for the narrower panels. The wider panels use a 14.75 inch piece. In theory, these brackets can be used on any machine that uses 1 inch extrusions and has 1/4 inch flanges at either side of the top of the tower (or you could add shims to widen out the tower that will accommodate having a pair of T-nuts and screws driven through them)
License
Attribution - Share Alike - Creative Commons
Comments
Sign in to add a comment.