Embedded OctoPi Mount - Rostock Max V2


DodgeDerek
| Filename | Downloads | Size | Uploaded | |
|---|---|---|---|---|
| 0505160046_hdr.jpg | 2330 | 495 kB | on 6/5/16 | Download |
| 0505160046a_hdr.jpg | 2354 | 5.5 MB | on 6/5/16 | Download |
| 0505160047_hdr.jpg | 2305 | 2.7 MB | on 6/5/16 | Download |
| 0505160050_hdr.jpg | 2434 | 5.4 MB | on 6/5/16 | Download |
| 0506160044_hdr.jpg | 2354 | 6.9 MB | on 6/5/16 | Download |
| octopi_base v6.png | 2270 | 159 kB | on 6/5/16 | Download |
| octopi_base.stl | 2384 | 368 kB | on 6/5/16 | Download |
| octopi_side_plate.stl | 2277 | 54 kB | on 6/5/16 | Download |
| octopi_top.stl | 2376 | 452 kB | on 6/5/16 | Download |
| 0505160045_hdr.jpg | 2328 | 7 MB | on 6/5/16 | Download |
Description
Finding that driving my printer with a Raspberry Pi and OctoPi was working very well, I wanted a way to mount it with a few specific goals:
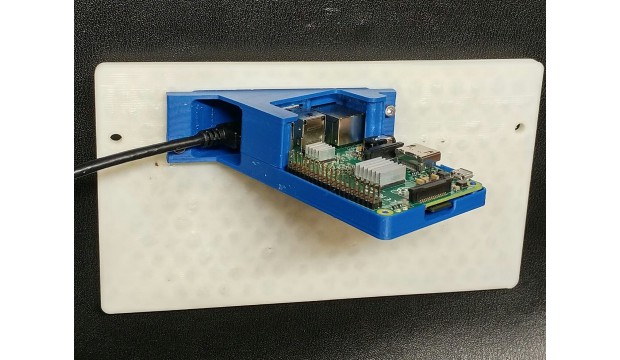
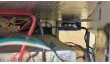
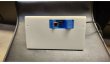
The Pi needed to be inside the printer for portability and cleanliness
The power and at least one USB connection as well as the main body needed to be accessible inside the printer. I wanted to have one and only one power plug on the printer and at least one USB to drive the printer board. Also I wanted the body inside so if I chose to upgrade to the Pi camera down the road, I can find a way to mount it in my enclosure with the cable running from the base up.
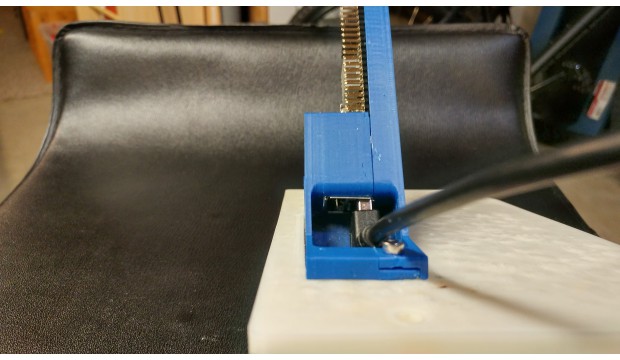
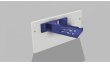
I needed to have at least one USB and the Ethernet port exposed externally. My printer is in my basement at the limits of my home wireless, but I have a network jack I can plug into so I have good control and frame rates for the OctoPi cam.
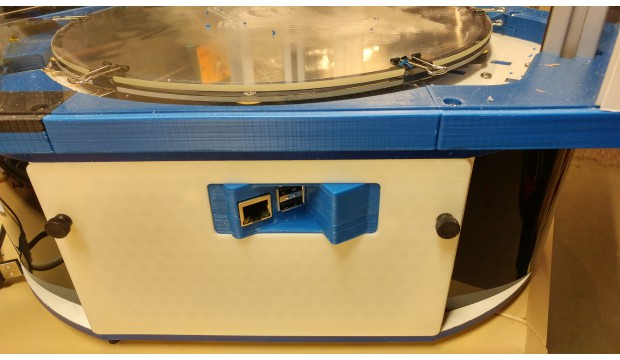
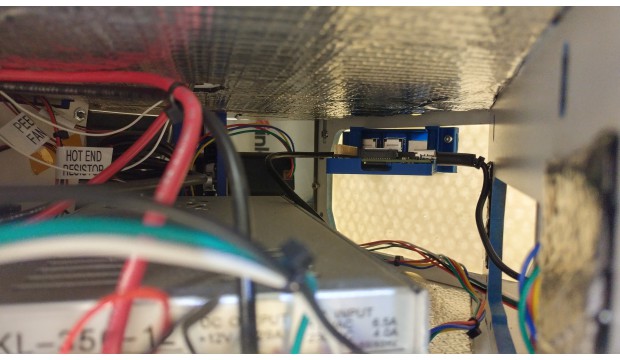
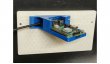
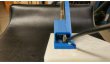
With these goals in mind, I settled on the blank side plate of the base of my printer and came up with a mount that would poke through with an angle that with some clever covering and a right angle USB cable would satisfy my requirements.
Instructions
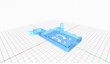
Mounting the Pi on this side of the printer provides plenty of separation from any of the power couplings and power supply itself. I may need to improve ventilation to ensure the base is enough for all the electronics, but that will probably fall into my later plans for a quieter fan to mount in the base along with some focused ducting for better cooling.
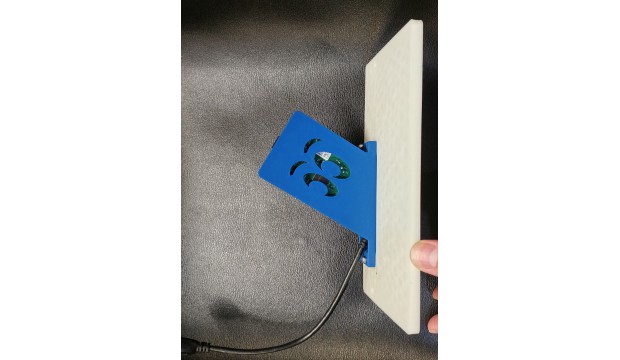
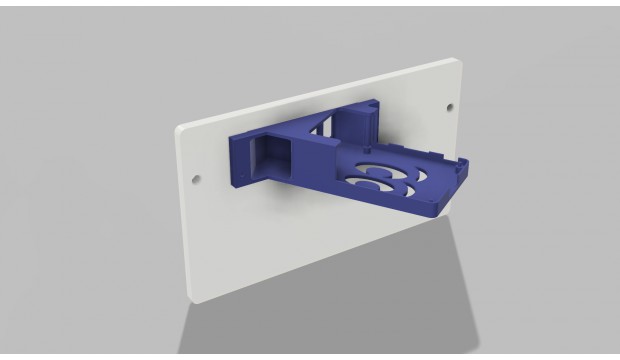
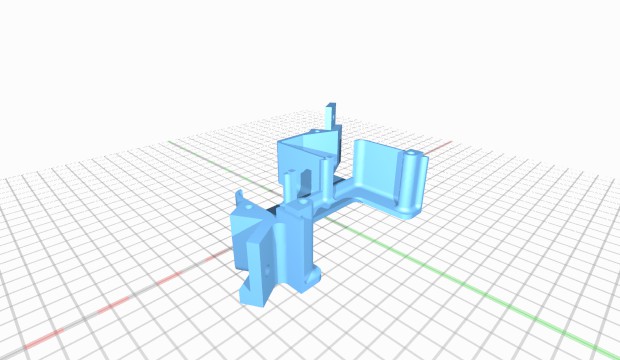
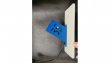
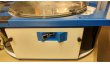
A fairly simple case that consists of a lower and upper mount pieces that clamp the Raspberry Pi in place and the replacement side plate to mount the whole thing within the printer. The Pi itself should be fine for ventilation given that the top of the mount is complete open. I had a little fun with the mount base and gave it a good ventilation view with the SeeMeCNC eyes.
Only a couple of 12mm long M3 bolts are required to hold the mount in place. The other necessary part is a USB cable with a sharp right angle bend to it for running to the printer board. I used this one from Amazon http://amzn.com/B00OMXRNHO along with an USB B adapter.
I haven't completed the power wiring, but at this point I plan on simply wiring a short section of extension cord to the external power plug and just using the small power block that came with the Pi
License
Attribution - Creative Commons
Tags
Comments
Sign in to add a comment.