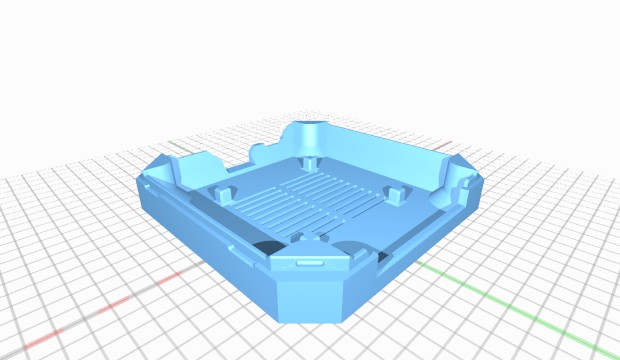
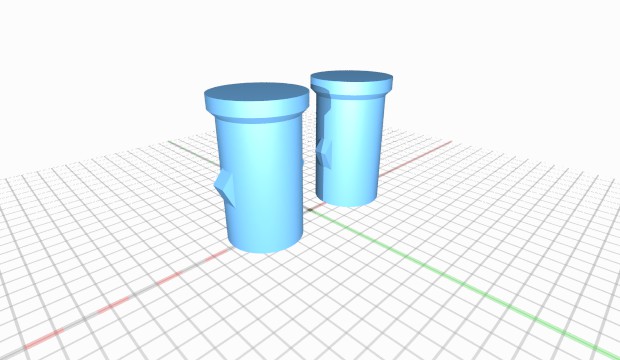
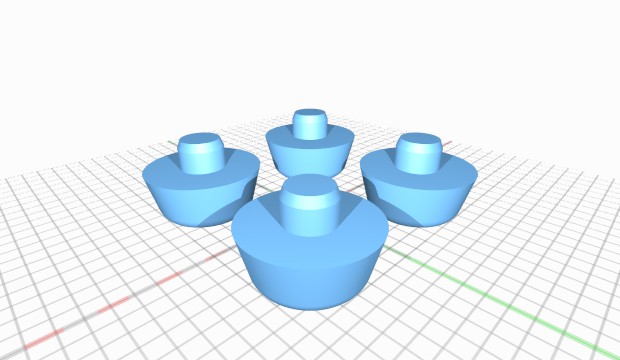
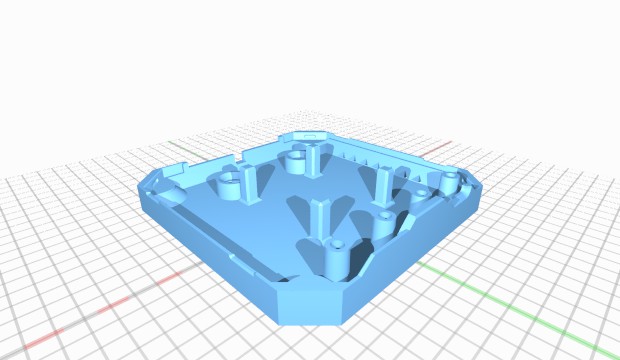
OpenScope Case Files - Version 2 (Single head extruder)

Digilent
| Filename | Downloads | Size | Uploaded | |
|---|---|---|---|---|
| untitled.92.jpg | 2009 | 117 kB | on 2/6/17 | Download |
| untitled.91.jpg | 2147 | 156 kB | on 2/6/17 | Download |
| untitled.89.jpg | 2097 | 203 kB | on 2/6/17 | Download |
| Digikey Lightpipe Iso.jpg | 2078 | 8.6 MB | on 2/6/17 | Download |
| Digikey Lightpipe.jpg | 2056 | 8.1 MB | on 2/6/17 | Download |
| Hot Glue Gun Lightpipe.jpg | 2039 | 7.7 MB | on 2/6/17 | Download |
| No Lightpipe.jpg | 2080 | 9.8 MB | on 2/6/17 | Download |
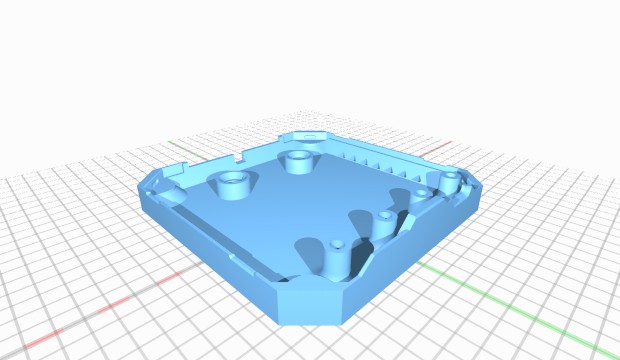
| OpenScope_Top_Case_v2.stl | 2083 | 11.6 MB | on 2/6/17 | Download |
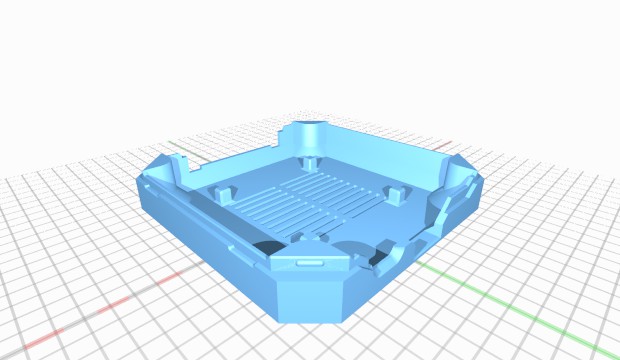
| OpenScope_Bottom_Case_v2.stl | 2155 | 6.5 MB | on 2/6/17 | Download |
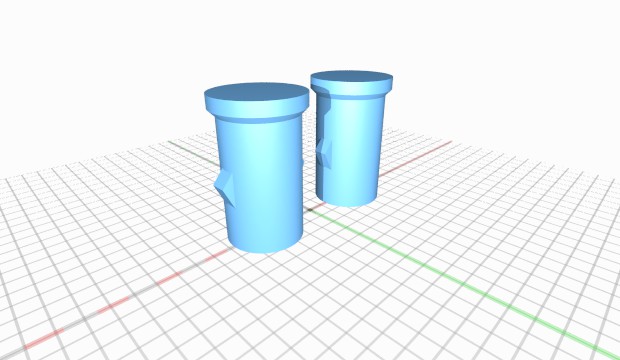
| OpenScope_Buttons.stl | 2095 | 226 kB | on 2/6/17 | Download |
Description
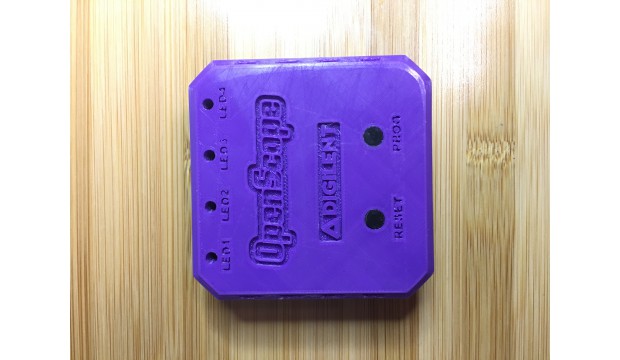
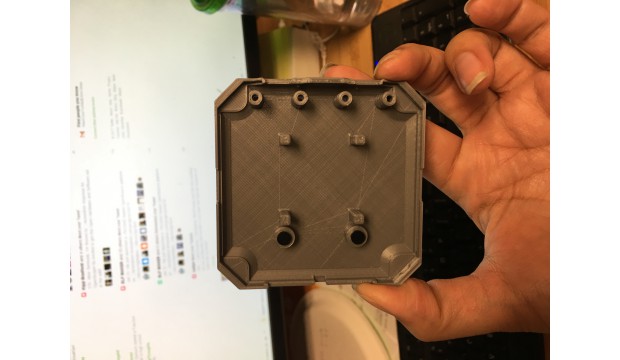
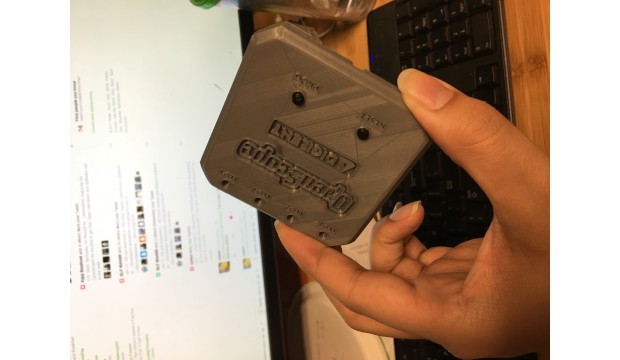
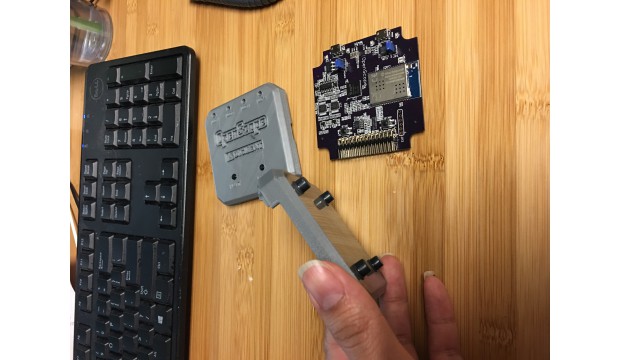
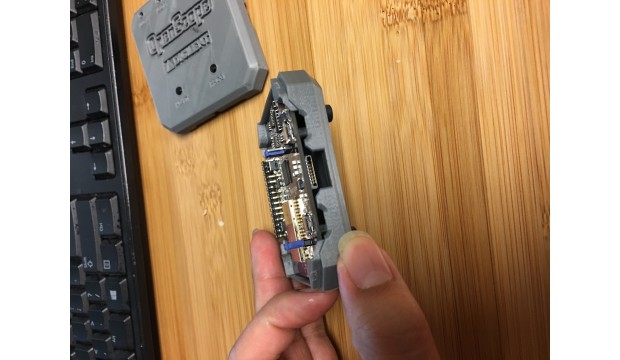
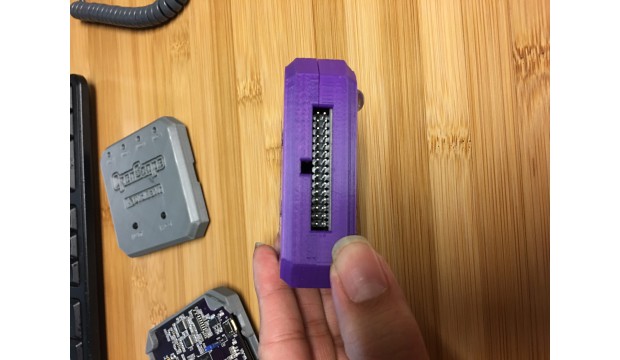
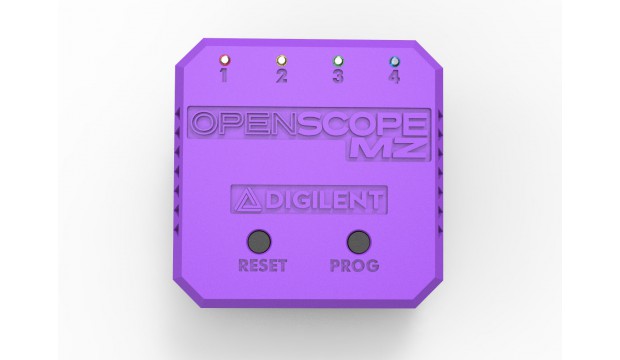
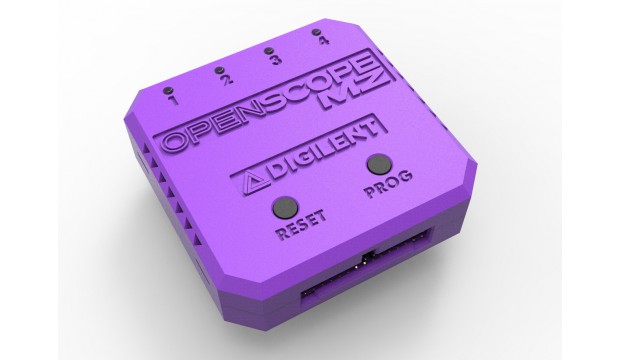
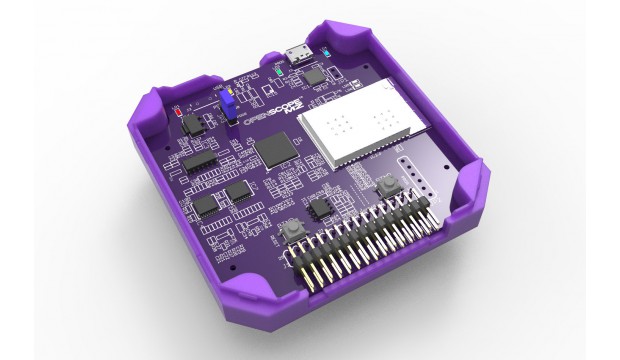
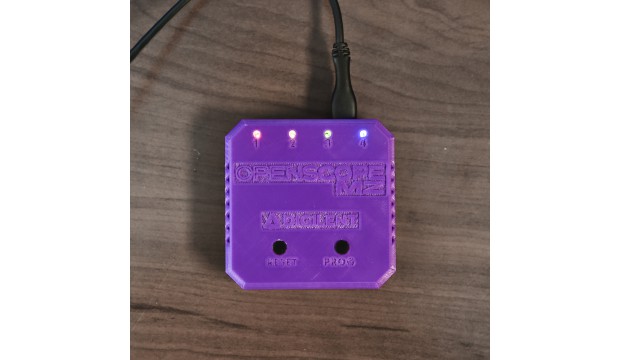
Here is the 3D printable case for your OpenScope. This case was designed to secure your board with a simple Snap-On feature, and giving you the freedom to still access the buttons and connectors.
This is to support the OpenScope Kickstarter: https://www.kickstarter.com/projects/342199468/openscope-instrumentation-for-everyone
Instructions
There is version 1 on the web, but be sure to download version 2, since we have made the necessary adjustments to secure the case the most recent upload.
The STL files were exported in millimeters, so be sure to check this setting in your slicer when your importing.
For best results, print with the following settings:
Nozzle Diameter: 0.4 mm
Layer Height: 0.1 – 0.12 mm
If you wish to print with a mirror finish on the top and bottom surface, you would need to print on a glass bed with either glue stick or hairspray for the adhesion. If your slicer provides options to adjust the first layer settings, these are the settings that worked best for us:
First Layer Height: 80-100%
First Layer Speed: 35-40%
First Layer Width: 100-114%
NOTE: If you increase the width greater than 114%, then the logo text will not be printed
In the following video, are instructions how to prepare the 3D print so that you wouldn’t run into any problems. In addition, it explains how to assemble the entire unit, including the buttons, light pipes, and rubber feet.
Video:
https://www.youtube.com/watch?v=1rcUaX0_gqw&t=1s
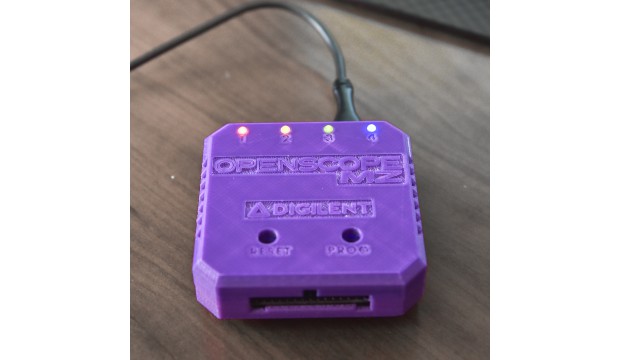
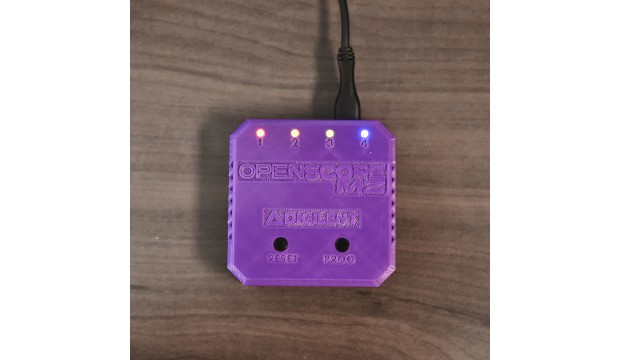
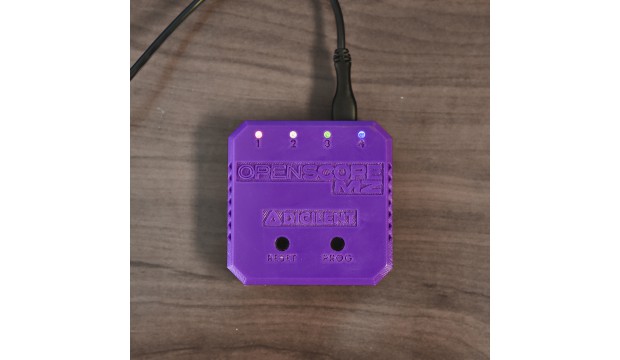
Light pipes are an optional feature to the case. Without the light pipes, you will only be able to see the LED lights in the case if you look directly from the top view. When light pipes are added, the LED light is diffused through the plastic pipe, and will allow you to see the LEDs light up from any angle viewed.
Here are the light pipes that we use:
https://www.digikey.com/products/en?keywords=492-1154-nd
If you are up for the challenge, you can create your own light pipes, just as explained in the video. All you will need is a hot glue gun that has a narrow nozzle.
License
Attribution - Creative Commons
Tags
Comments
Sign in to add a comment.
